Our Products
With a wide selection of products from Crown Heritage, WM Coffman and Indital, the possibilities are endless for your staircase.
Whether you're a contractor who builds stairs for people's houses or a crafty homeowner who wants to tackle a new project, you're not going to get far without affordable stair parts. At Stair Part Pros, we're proud to be one of the top stair parts supply stores in Florida. Our cheap stair parts are made from strong, high-quality materials that withstand years of daily use. They might be affordable, but that doesn't mean that we're selling you anything less than the best. Invest in your future with materials like stainless steel, red oak, maple, beechwood and iron.
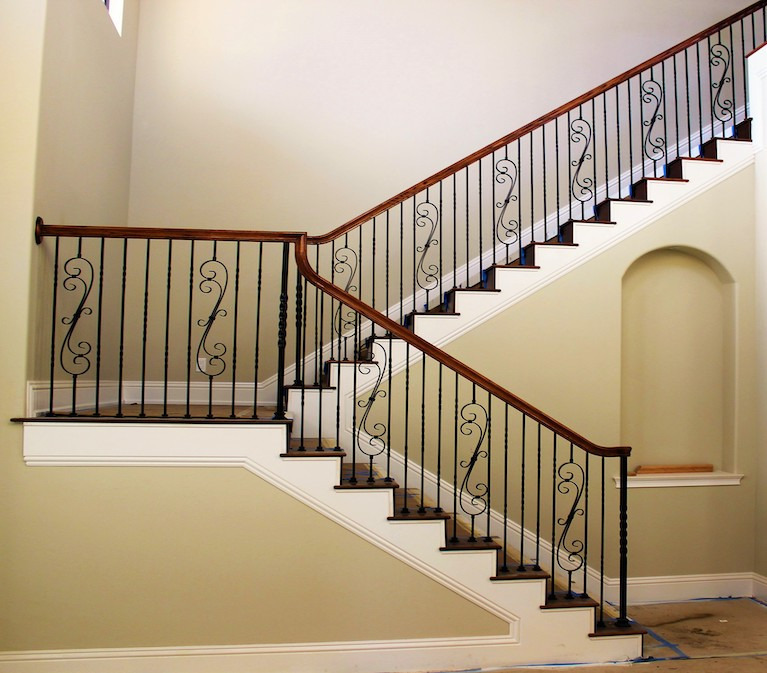
Our selection of stair building materials includes newels, balusters, trim, shoes, base sleeves, interior stair railing systems and much more. If you're looking for an installer, we're also one of the top stair railing contractors in Fort Myers. We're happy to sell you the products that you need, but we can also come to your house and offer our unparalleled installation services. Get in touch with us if you need assistance with your next construction project.